So, er, yeah, bit behind on the updates - this lot coming up was February half term...
Next step was an overhead unit above the sliding door to contain the switch panel, amp, a couple of speakers and a wee bit of storage. There are a few constraints here - it has to fit all that stuff (duh) but also not be too obtrusive - if it sticks out into the van too far then we'll bang our heads on it when we get in. Which would be bad. Always keen to make life difficult, I went for an angled face, as seen in this Mark 1 former:
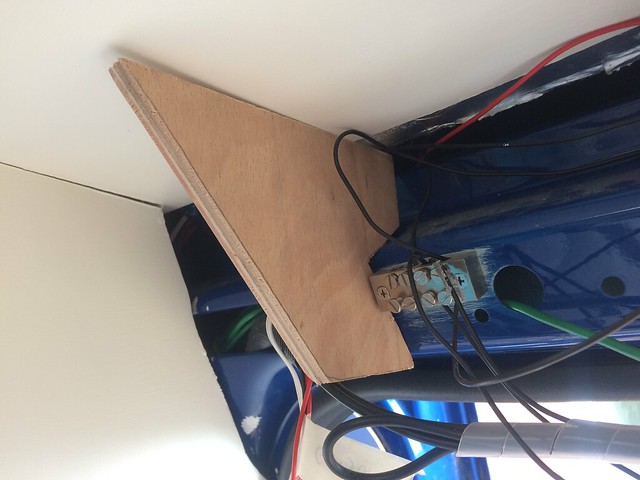
Seemed to work, so added another one:
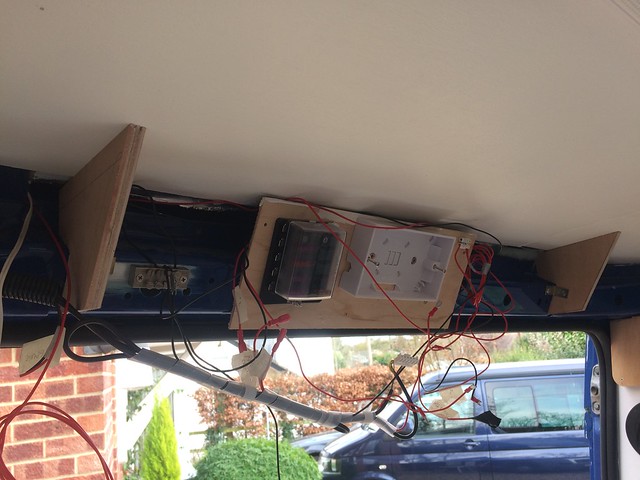
Here's a first pass at the main structure:
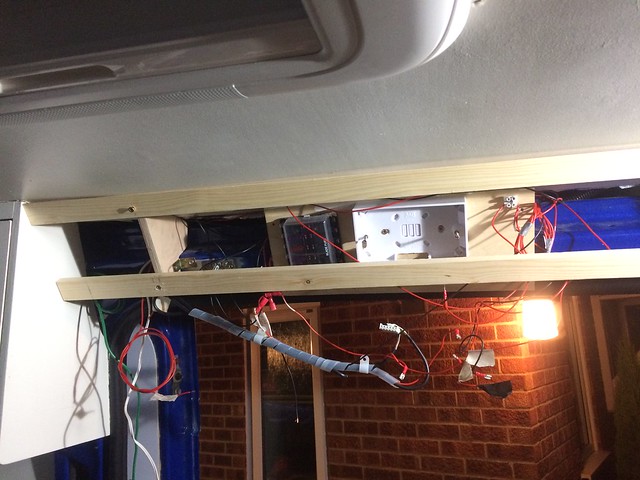
The ply formers are attached to the van and the ends of the unit will be supported by the kitchen at one end and the bulkhead at the other. Added more framing:
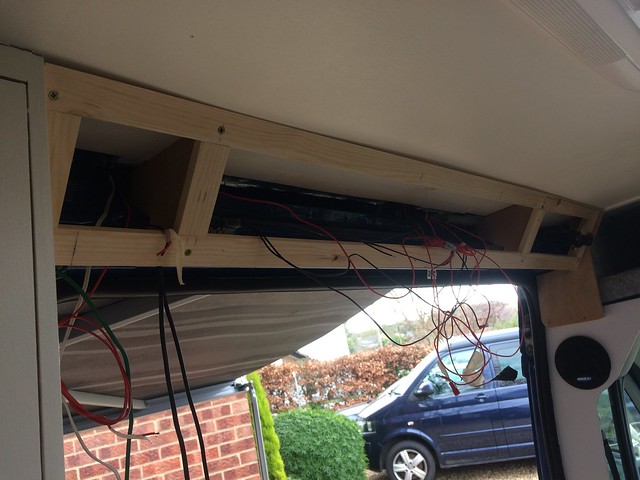
...and took out all the old junk, leaving lots of dangly wires. Lots of them got pulled into the locker over the kitchen, to which I've moved the left-hand fusebox and earth point for convenience:
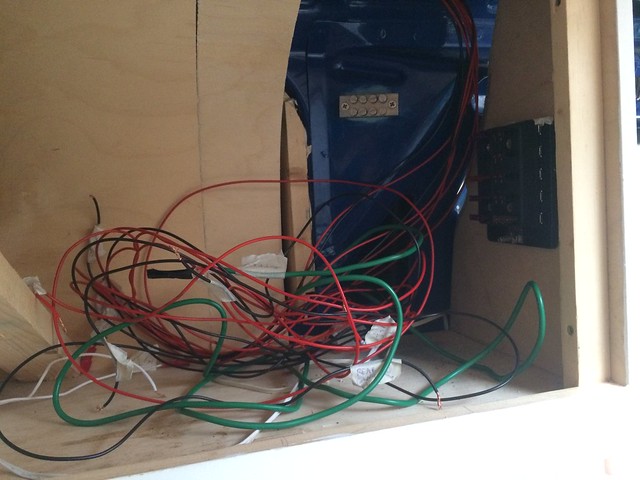
Considerable amounts of untangling, tracing, trying to remember what goes where and labelling later, it's looking a bit tidier:
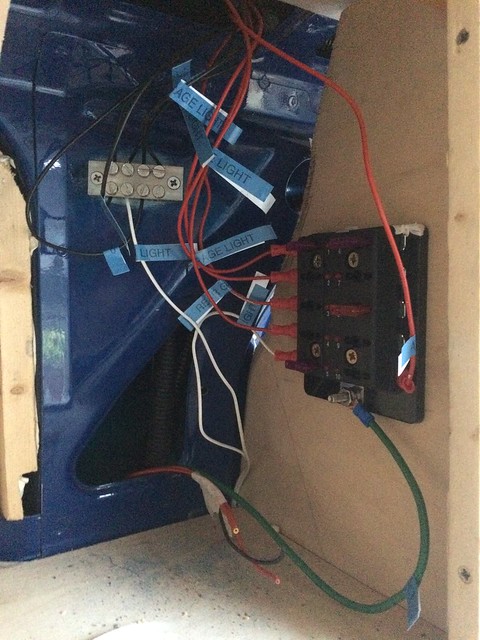
The green wire is the feed from the batteries (there's another (bigger) fuse at the other end), a bunch of lights and things are fed from this fusebox. There's another identical one under the seats on the other side of the van which runs a load of other stuff. All the returns go to the metal connection block, which is just screwed to the bodywork with the paint sanded off underneath.
Current state of play:
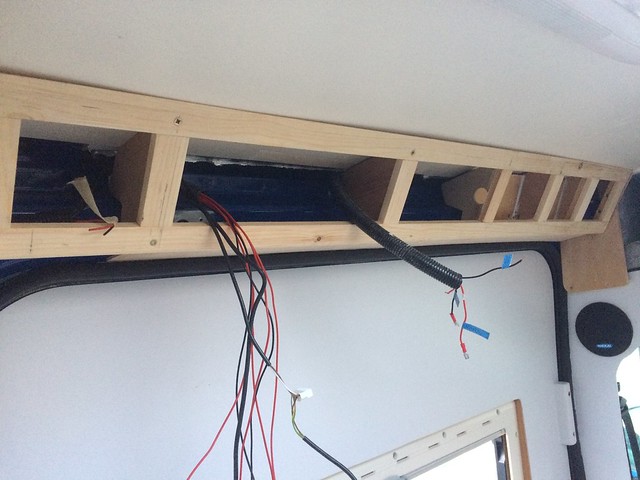
There are (removable for maintenance) ply panels to go on the front of this - from left to right they'll be speaker, switches, amp, cubby hole (with USB sockets in the side for phones), second cubby hole, speaker. Getting that lot all lined up will be entertaining.
In other news, I've made a start at boxing in the base of the rear seats. Now reasonably well practised at routing the corners off bits of timber:
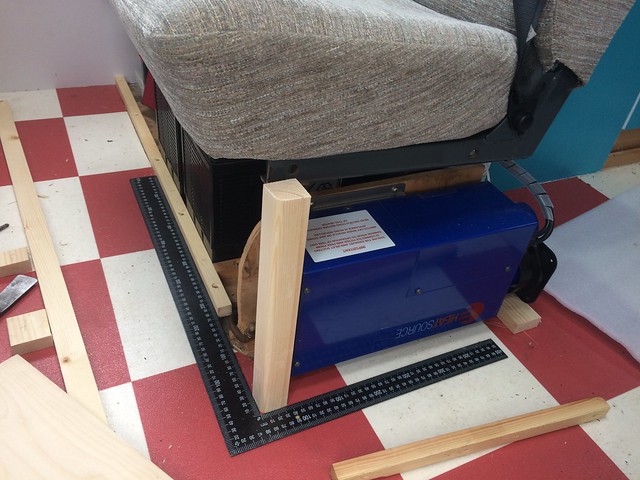
Incorporated into the structure is an additional support for the fold-out bed flap, that's been a bit saggy across the seat frames. This ought to sort it:
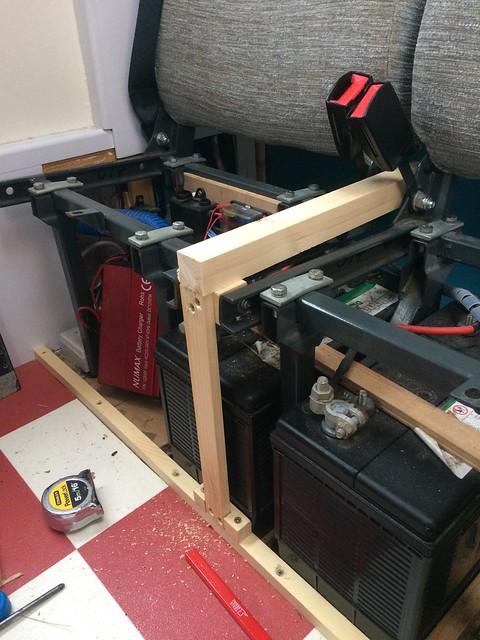
Sits neatly between the seat bases when they're in place, which has the added benefit of making it significantly harder for children to drop pens/tiny toys/crisps down between the seats...
Hacked out a piece of 4mm ply to offer up:
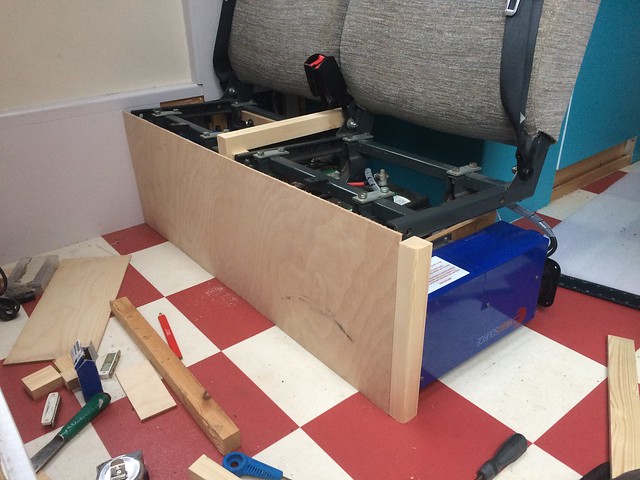
Slightly tediously we need access under the front edge of the seat bases for the handwheel bolts that hold them down, which meant cutting this bit out:
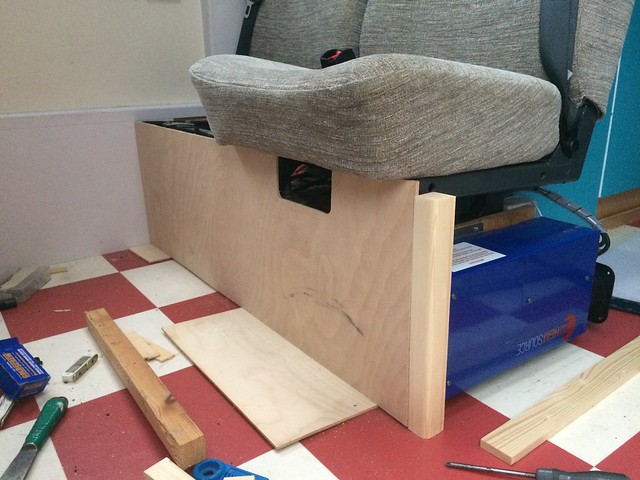
although that's also useful as a handle to detach the panel with - it'll be held on with magnets eventually. Given that the batteries, mains charger, solar controller, heater, split charge relay, fuseboxes etc are all under the seats, access is definitely required.
Having done the same for the other seat and made a start on the frame around the side, the rear seats currently look like this:
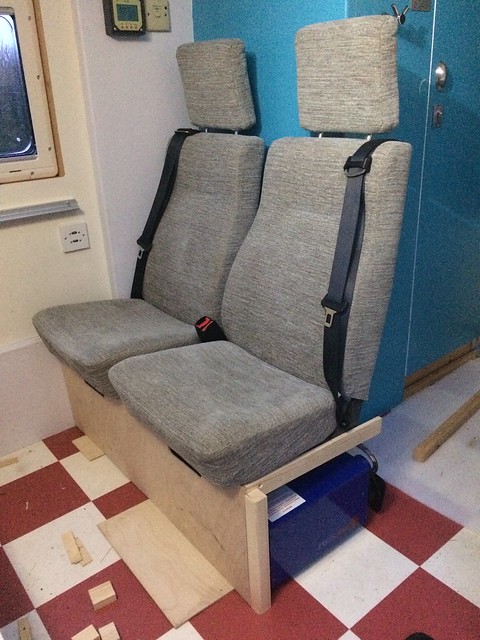
which is quite a lot neater than before. Onwards!